Sunday, December 19, 2010

All Decked Out

I realised I hadn't put finished photos up.

Excuse the wonky Christmas bows, it has been gail force winds the last few days, as evidenced by the neighbours fallen letterbox.

The wood is Swan river red gum.  The rocks are Kapunda Bluestone.
Image


Image

Image

Goes well with the western red cedar shutters

Image

Image

Image

Image

Image

Image

I love these steps up to the front porch. The landscaping guy did such an amazing job placing them, we sit on them in the evening and have a quite beer after putting the kids to bed.

Image

Smooth Panel Finish Garage Door

Some-one on the homeone forum wanted a picture of a smooth panel roller garage door.  So here is ours Smile

We had to sign a disclaimer stating that we understood the risks of a smooth panel door that it might show up stippling and oil canning.  But it has been fine. You can click on the small pics for bigger closeups.  The colour is Manor Red and the bricks are Sorbetto.

IMG_2795IMG_2796IMG_2797

IMG_2798

Sunday, October 24, 2010

Kitchen Blind and Key Corkboard

After a bit of shopping around I discovered that no-one wanted to make my kitchen roman blind for me.  The material that I had chosen was too heavy and no curtain makers wanted to take the chance.  So I made it by hand myself. It was so big I had to do it on the floor of the computer room, my knees where shot for days.

IMG_2375

IMG_2376IMG_2380

But I think it looks great in!  We also had down lights put in above the kitchen sink as we couldn’t see when doing the dishes at night.

IMG_3096

IMG_2384

I also found this corkboard / picture frame at Spotlight, so I removed the cork and put a piece of leftover fabric over it, and some ribbons so I could put notes in there as well as push pins.  I bought some hooks from Bunnings and screwed them onto the frame just under the kids pictures.  I figure when the kids are older they can hang there car keys under there picture!

IMG_3095

I hung it next to the kitchen door heading to the garage.

IMG_3094

I used the drunk octopus hooks, because they just make me smile every time I see them Smile

drunk-octopus-wants-to-fight-you

With the last of the material I made some door snakes, with little button eyes.

IMG_3053IMG_3051

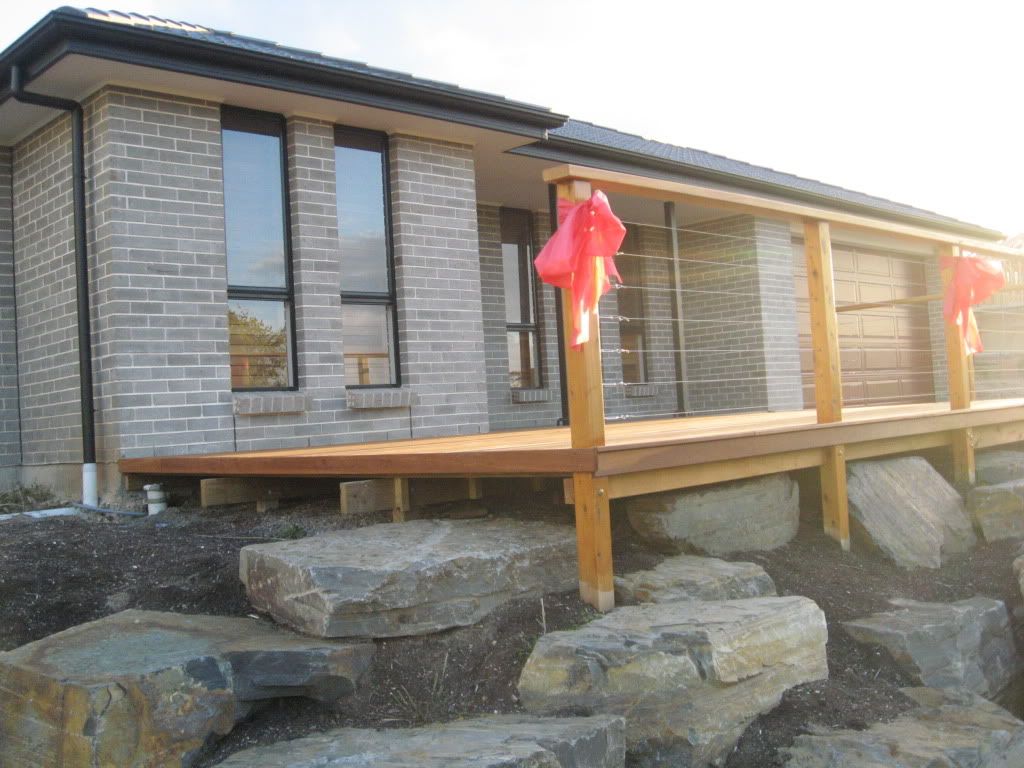
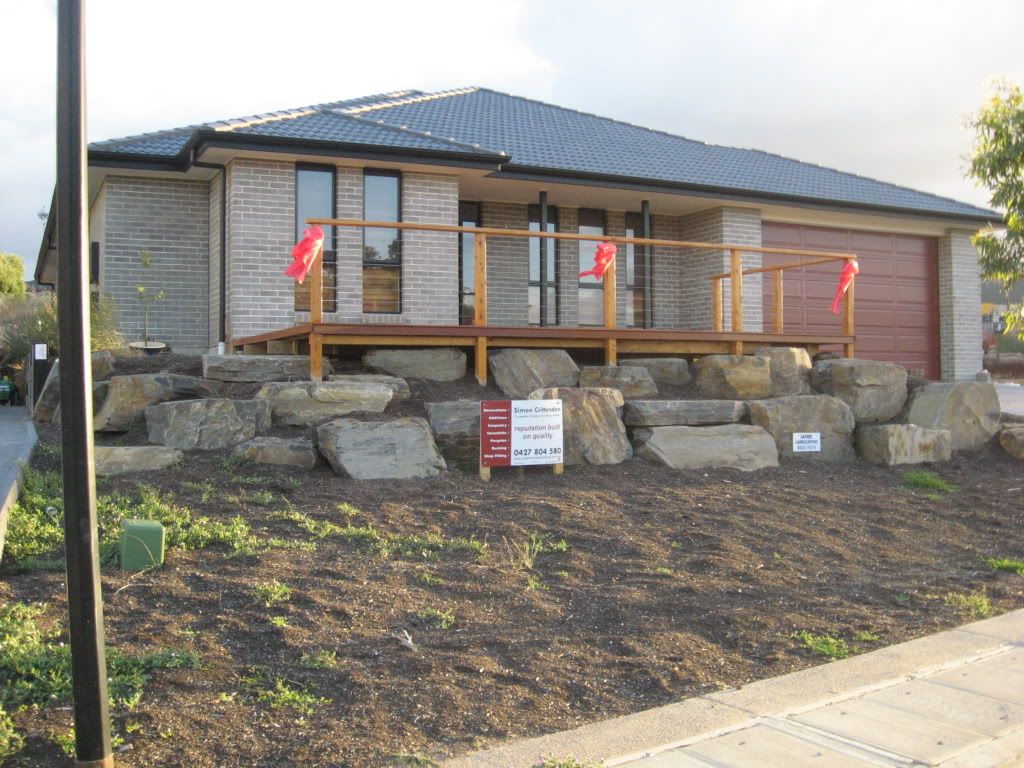
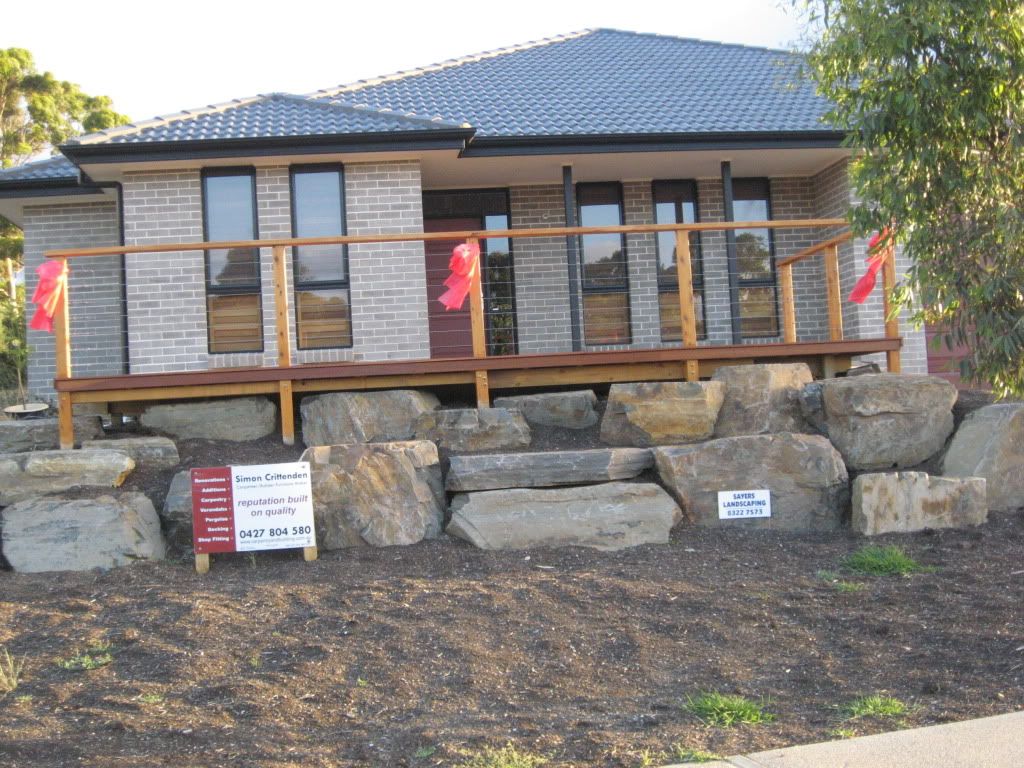
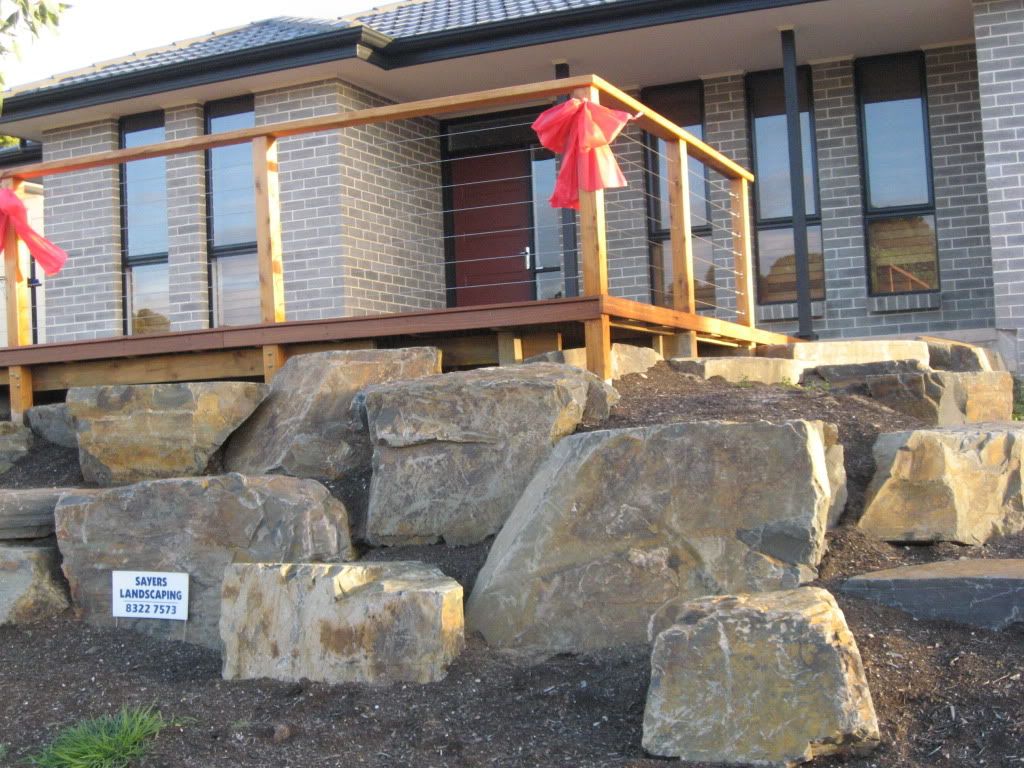
From the outside I now have all red, to match the red front door, red garage door and red laundry door round the other side.IMG_2388

I just realised I haven't put up a photo of the dining area curtain.  We put this up in July.

IMG_2012

Friday, October 1, 2010

Beginnings of a Deck and the Rock Wall

You can scroll down and refresh yourself with our landscape concept. We have finally saved up enough to start.

Given the cost though I am wondering how and why we are doing it. We have 12 months from when we move in to do the front landscaping and I can tell you some of the other houses in the estate are definately not adhereing to this encumberance rule!

I think hubby and I both got sick of the dirt pile out the front at the same time. Also he works from home and has had a few customers come around lately to drop of machines and watching them clamber up the dirt pile whilst amusing is not really good for business. So we got 3 quotes for the deck and 2 quotes for the rock wall. There are only 1 place in Adelaide that we could get the rock that we wanted from, and only them and 1 person they knew who would work with it, so we where a bit limited with those. Unsprisingly they quoted the same price! so we went with the person who was available the soonest.

For the deck we went with the middle priced quote, mostly because the guy seemed to know what he was talking about the most! and had the most experience.

The dirt pile before.Image

The start of the deck. The front support beams had to go in before the rock wall, so that the rocks could sit ‘under’ the deck and give the illusion that the deck is ‘floating’ above the wall.
Image

I told my daughter to take some photos during the day when they where laying the rock, she's only 10 but there not to bad.
Image

Image

Steps leading up to the house and the deck
Image

Image

Image

My 3 year old having lots of fun running back and forth over the rocks
Image

Image

Image

The boys playing
Image

Image

My favorite shot
Image


Thursday, September 9, 2010

The last of the Plantation Shutters

Bouyed by our success with the shutterkits (www.shutterkits.com.au) in our bedroom we decided to do the rest of the rooms we had planned to put shutters in.  The 5 windows across the front of the house, the ensuite, the main bathroom and the toilet.
Image
After much discussion hubby decided to just do what I wanted and we oiled the front ones rather then paint them. He wanted them white, I wanted them wood to match the deck we are putting out the front, I argued that we could always paint them if we didn't like them, but that once painted we couldn't go the other way.
I am so glad I won this argument as I think they look amazing! They bring a real warmth to the look of the front of the house.
Image
Image
Image
Image
Image
Image
Toilet (obviously)
Image
Main bathroom
Image
Image
Now I had bought some cheap undercoat paint to do the kids beds, since we had some leftover hubby thought he would use it on the shutters, EVEN though I had bought the Expensive undercoat paint recommended by the shutterkit place and had told him to use the other one. Would he listen NOOOOO
So this is what happened in the bathroom. The red cedar bled through
Image
Guess what his job this long weekend is going to be!!!